
Web Installer Guide
This guide walks you through preparing a MySQL database in cPanel (or similar hosting) and completing the browser-based WorkZen installation wizard.
Deploy the application files to your server, configure PHP and file permissions as described in your hosting documentation, then follow Step 1 to create a database and user, and Step 2 to run the installer at /installer.
Quick Navigation
Before You Start
Prerequisites
- PHP and extensions meeting the application requirements (the installer checks these on the first step).
- MySQL/MariaDB and a way to create databases and users (this guide uses cPanel’s MySQL® Databases interface).
- Files uploaded to your web root (or subdomain document root) and
.envpresent if your deployment process requires it.
Open the installer in your browser at https://your-domain.com/installer (replace with your real domain). Use HTTPS in production.
Step 1 — Create the database and user (cPanel)
In your hosting control panel, open the MySQL® Databases (or equivalent) section. The screenshots below show a typical cPanel workflow: create an empty database, create a MySQL user, link the user to that database, and grant privileges. You will enter these credentials later in the installer’s Database Setup step.
1. Open MySQL Databases
Locate the MySQL Databases area in cPanel. This is where you manage databases and users.
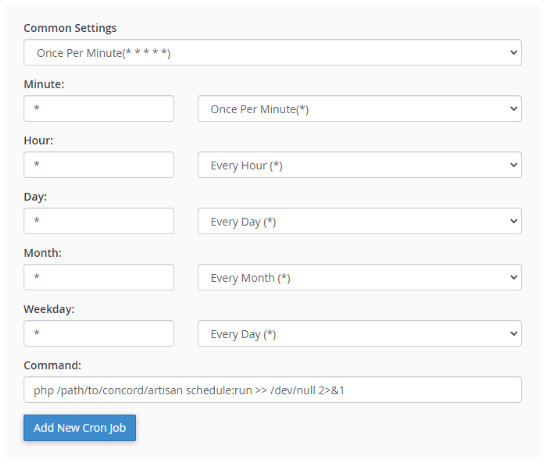
2. Create a new database
Enter a database name and create it. Note the full database name as shown by cPanel (often prefixed with your account name).
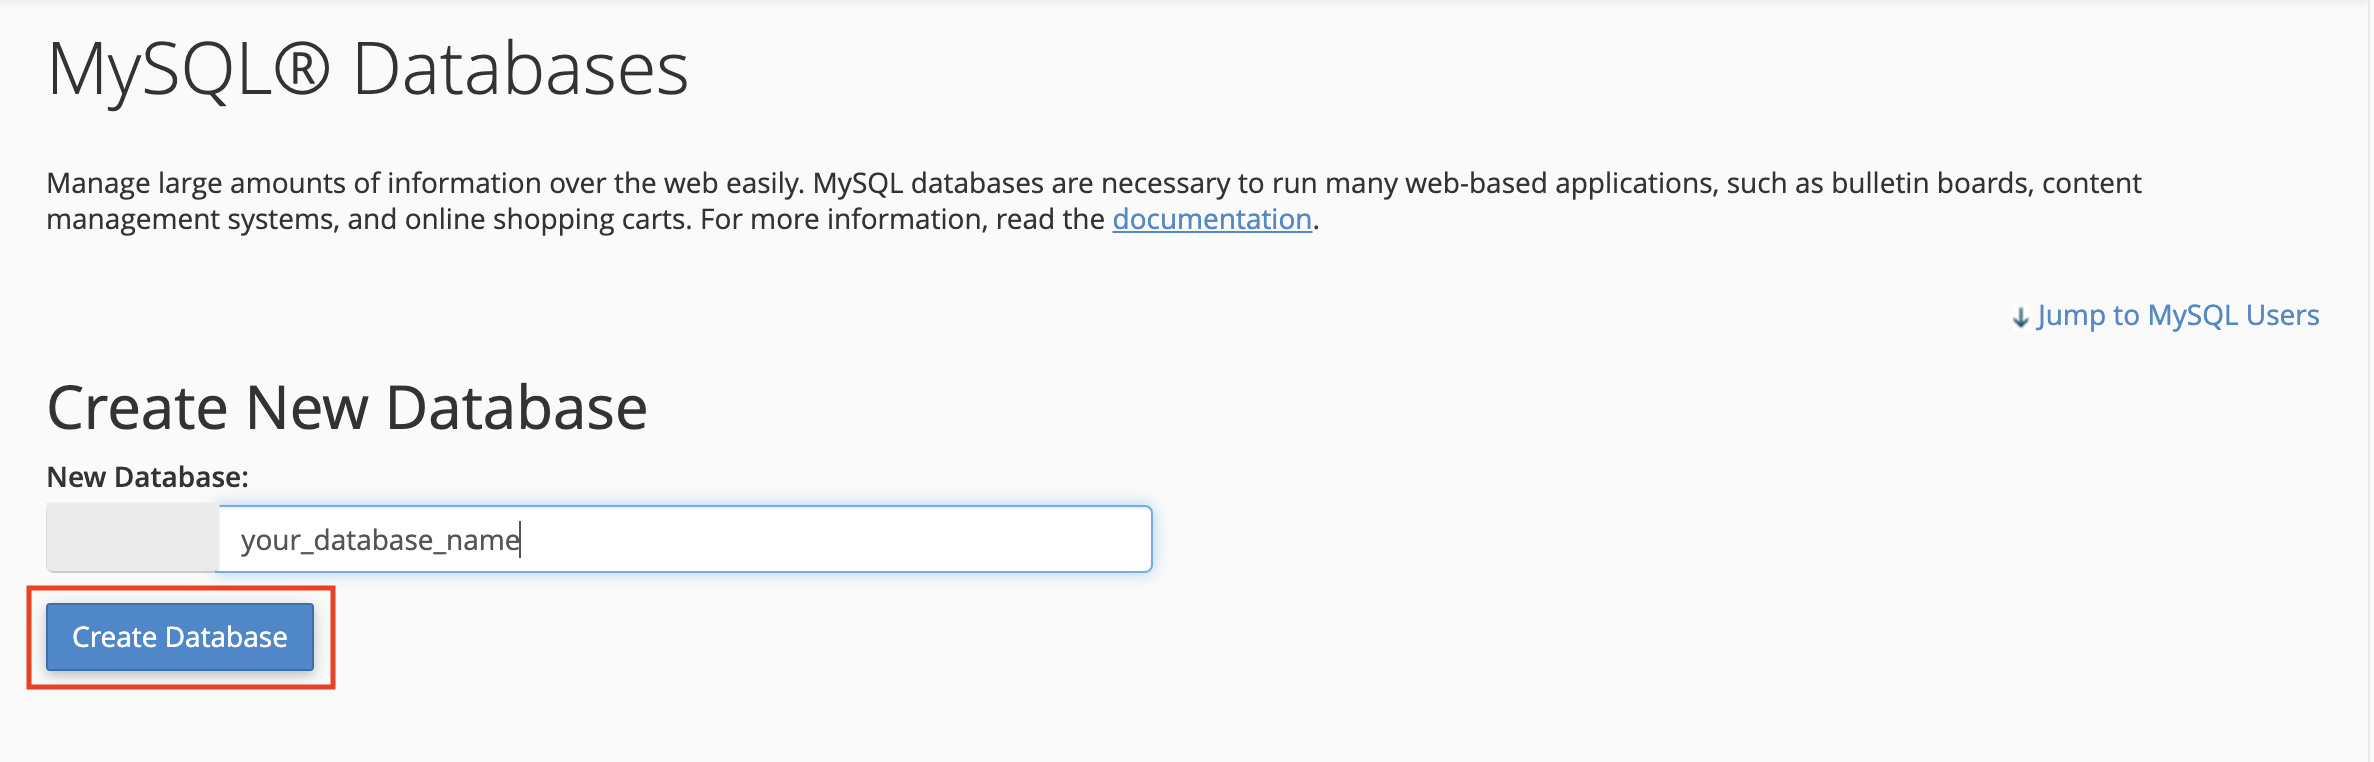
3. Create a MySQL user
Add a new user with a strong password. Save the username and password; the installer will ask for them.
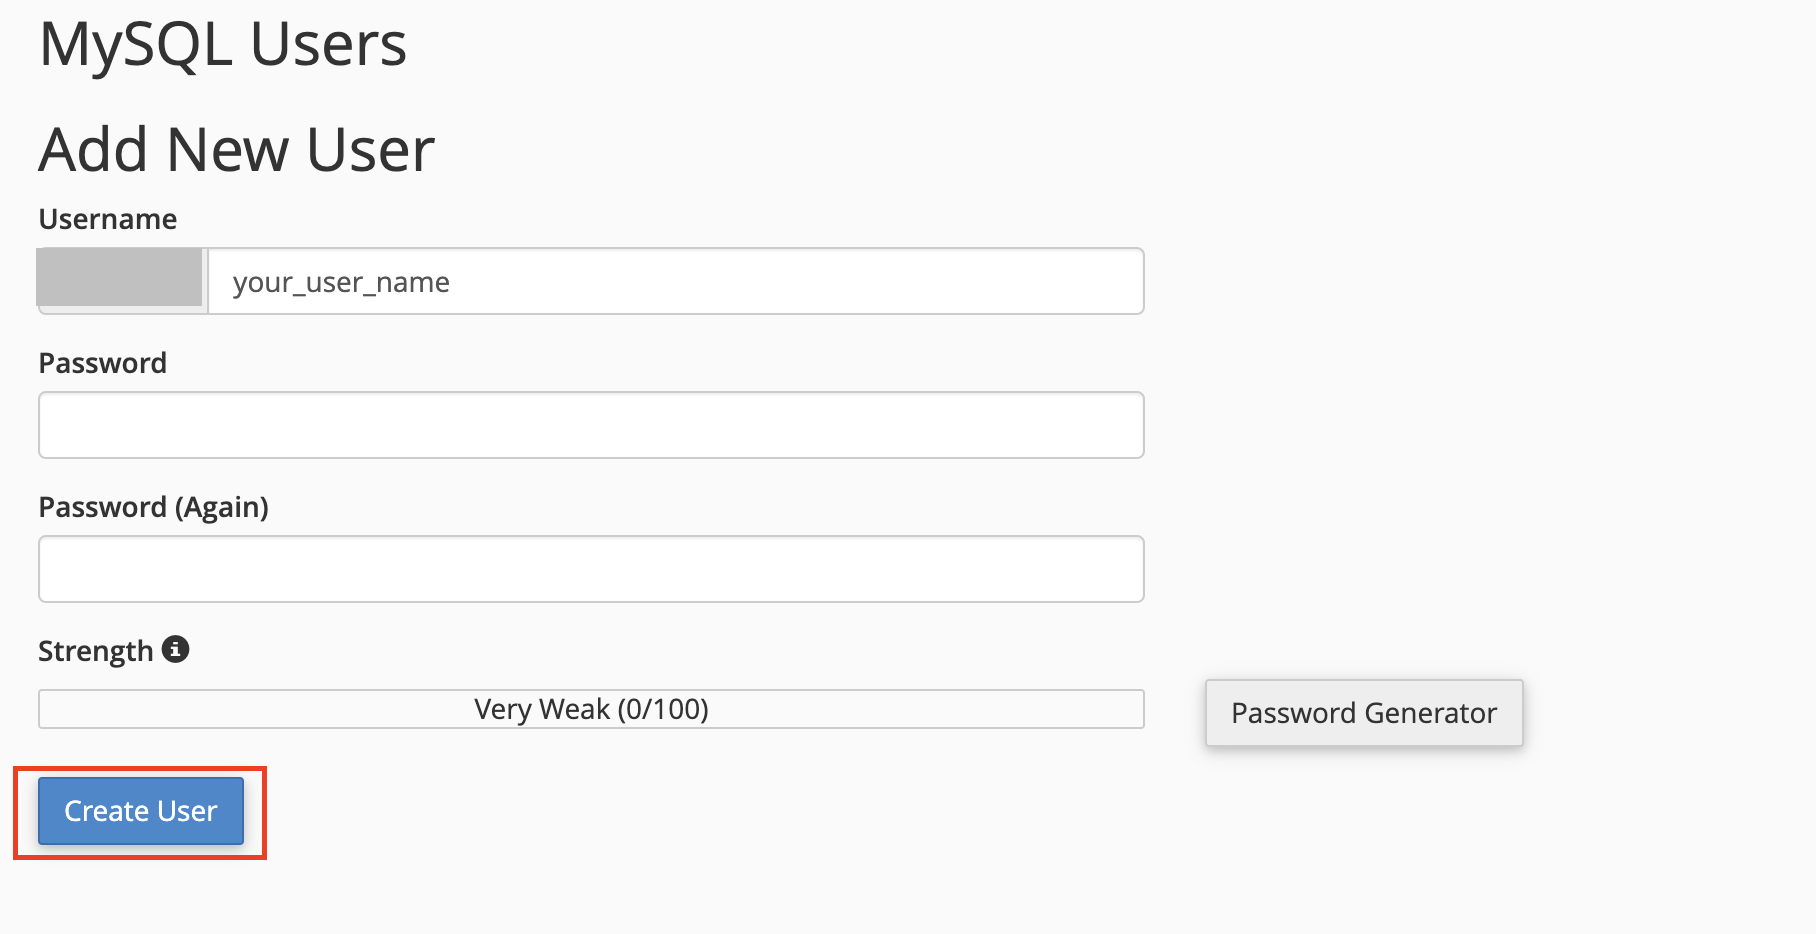
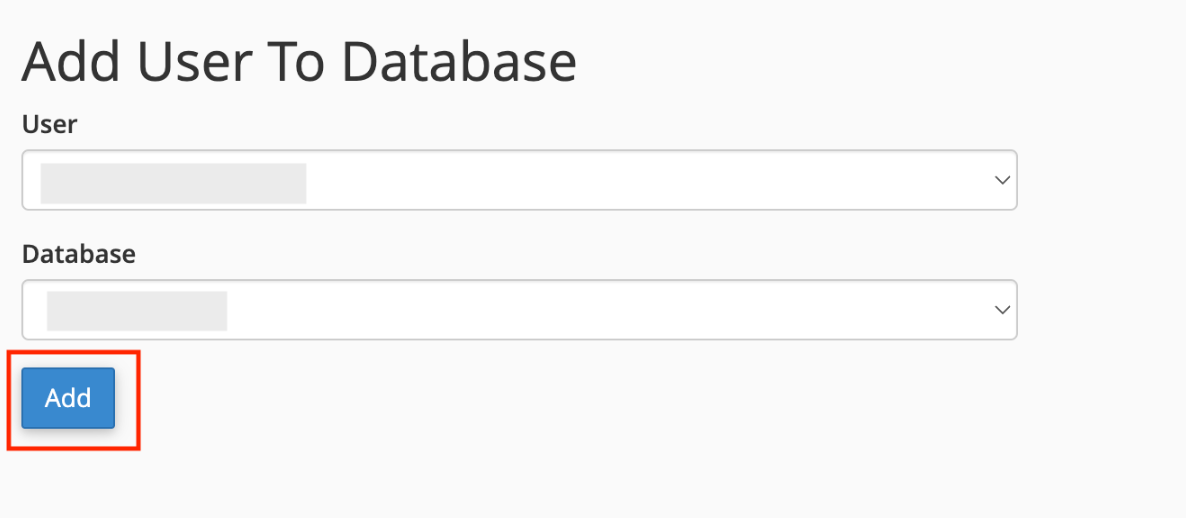
4. Select the database for the user
Choose which database you are attaching the user to (your new database).
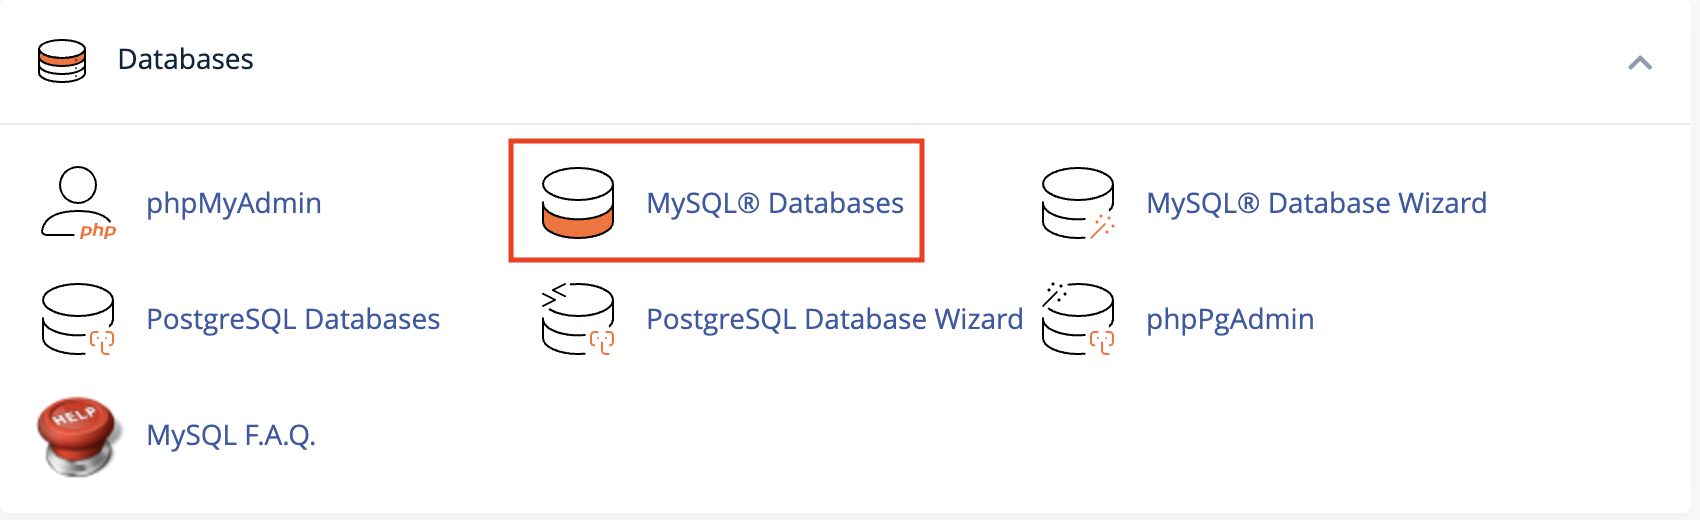
5. Add the user to the database
Confirm adding this user to the selected database so you can assign privileges.
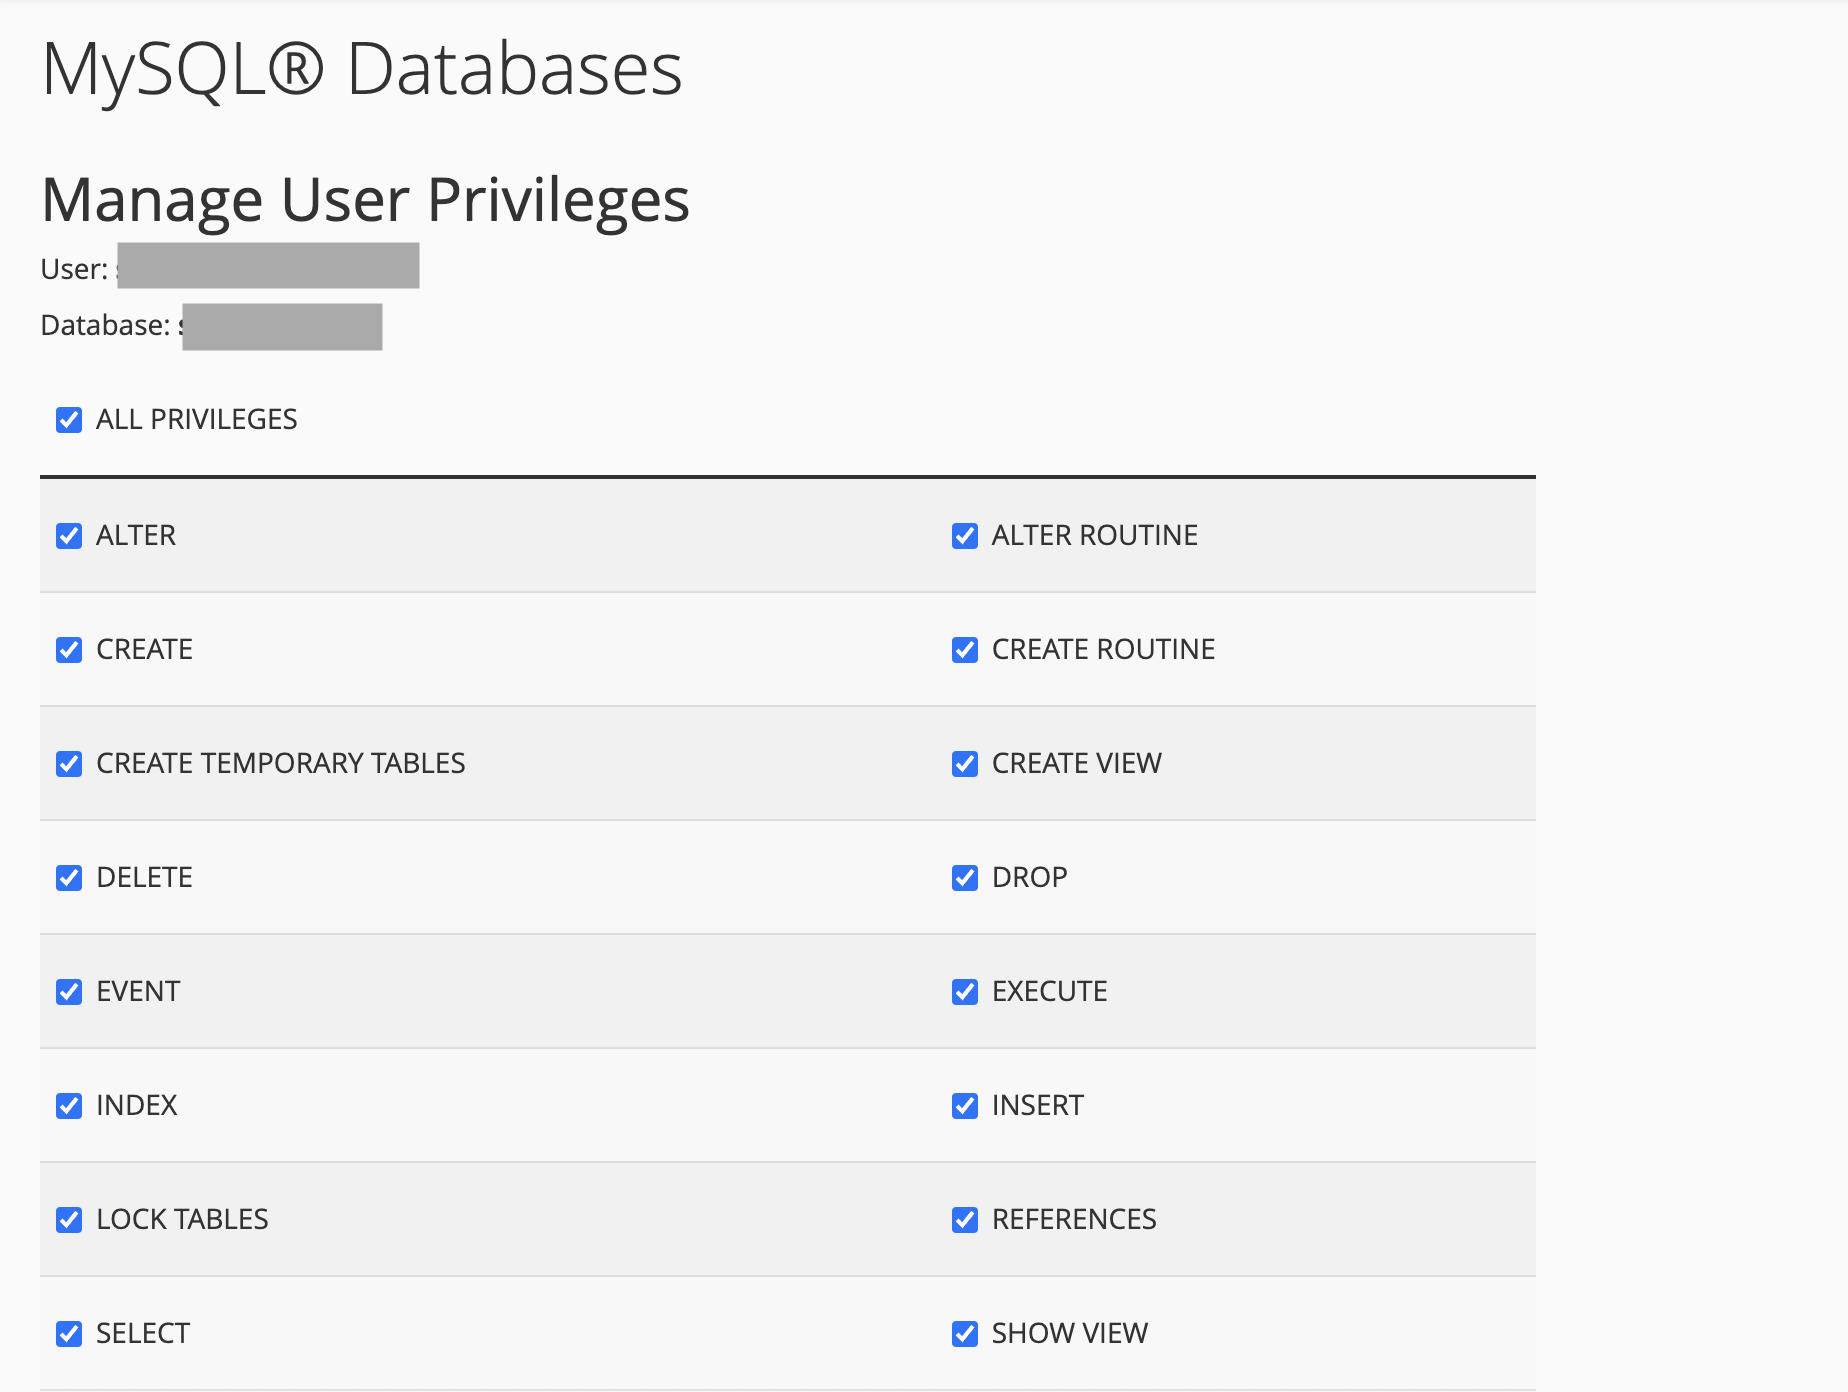
6. Set privileges
Grant ALL PRIVILEGES on this database to the user (required for migrations and normal operation).
You need: host (often localhost), port (usually 3306), database name, username, and password. On shared hosting, the database and username shown in cPanel may include a prefix—copy them exactly into the installer.
Step 2 — Web installer wizard
Visit /installer to start. The wizard guides you through system checks, folder permissions, database connection, administrator account, and completion. The screenshots below match each stage.
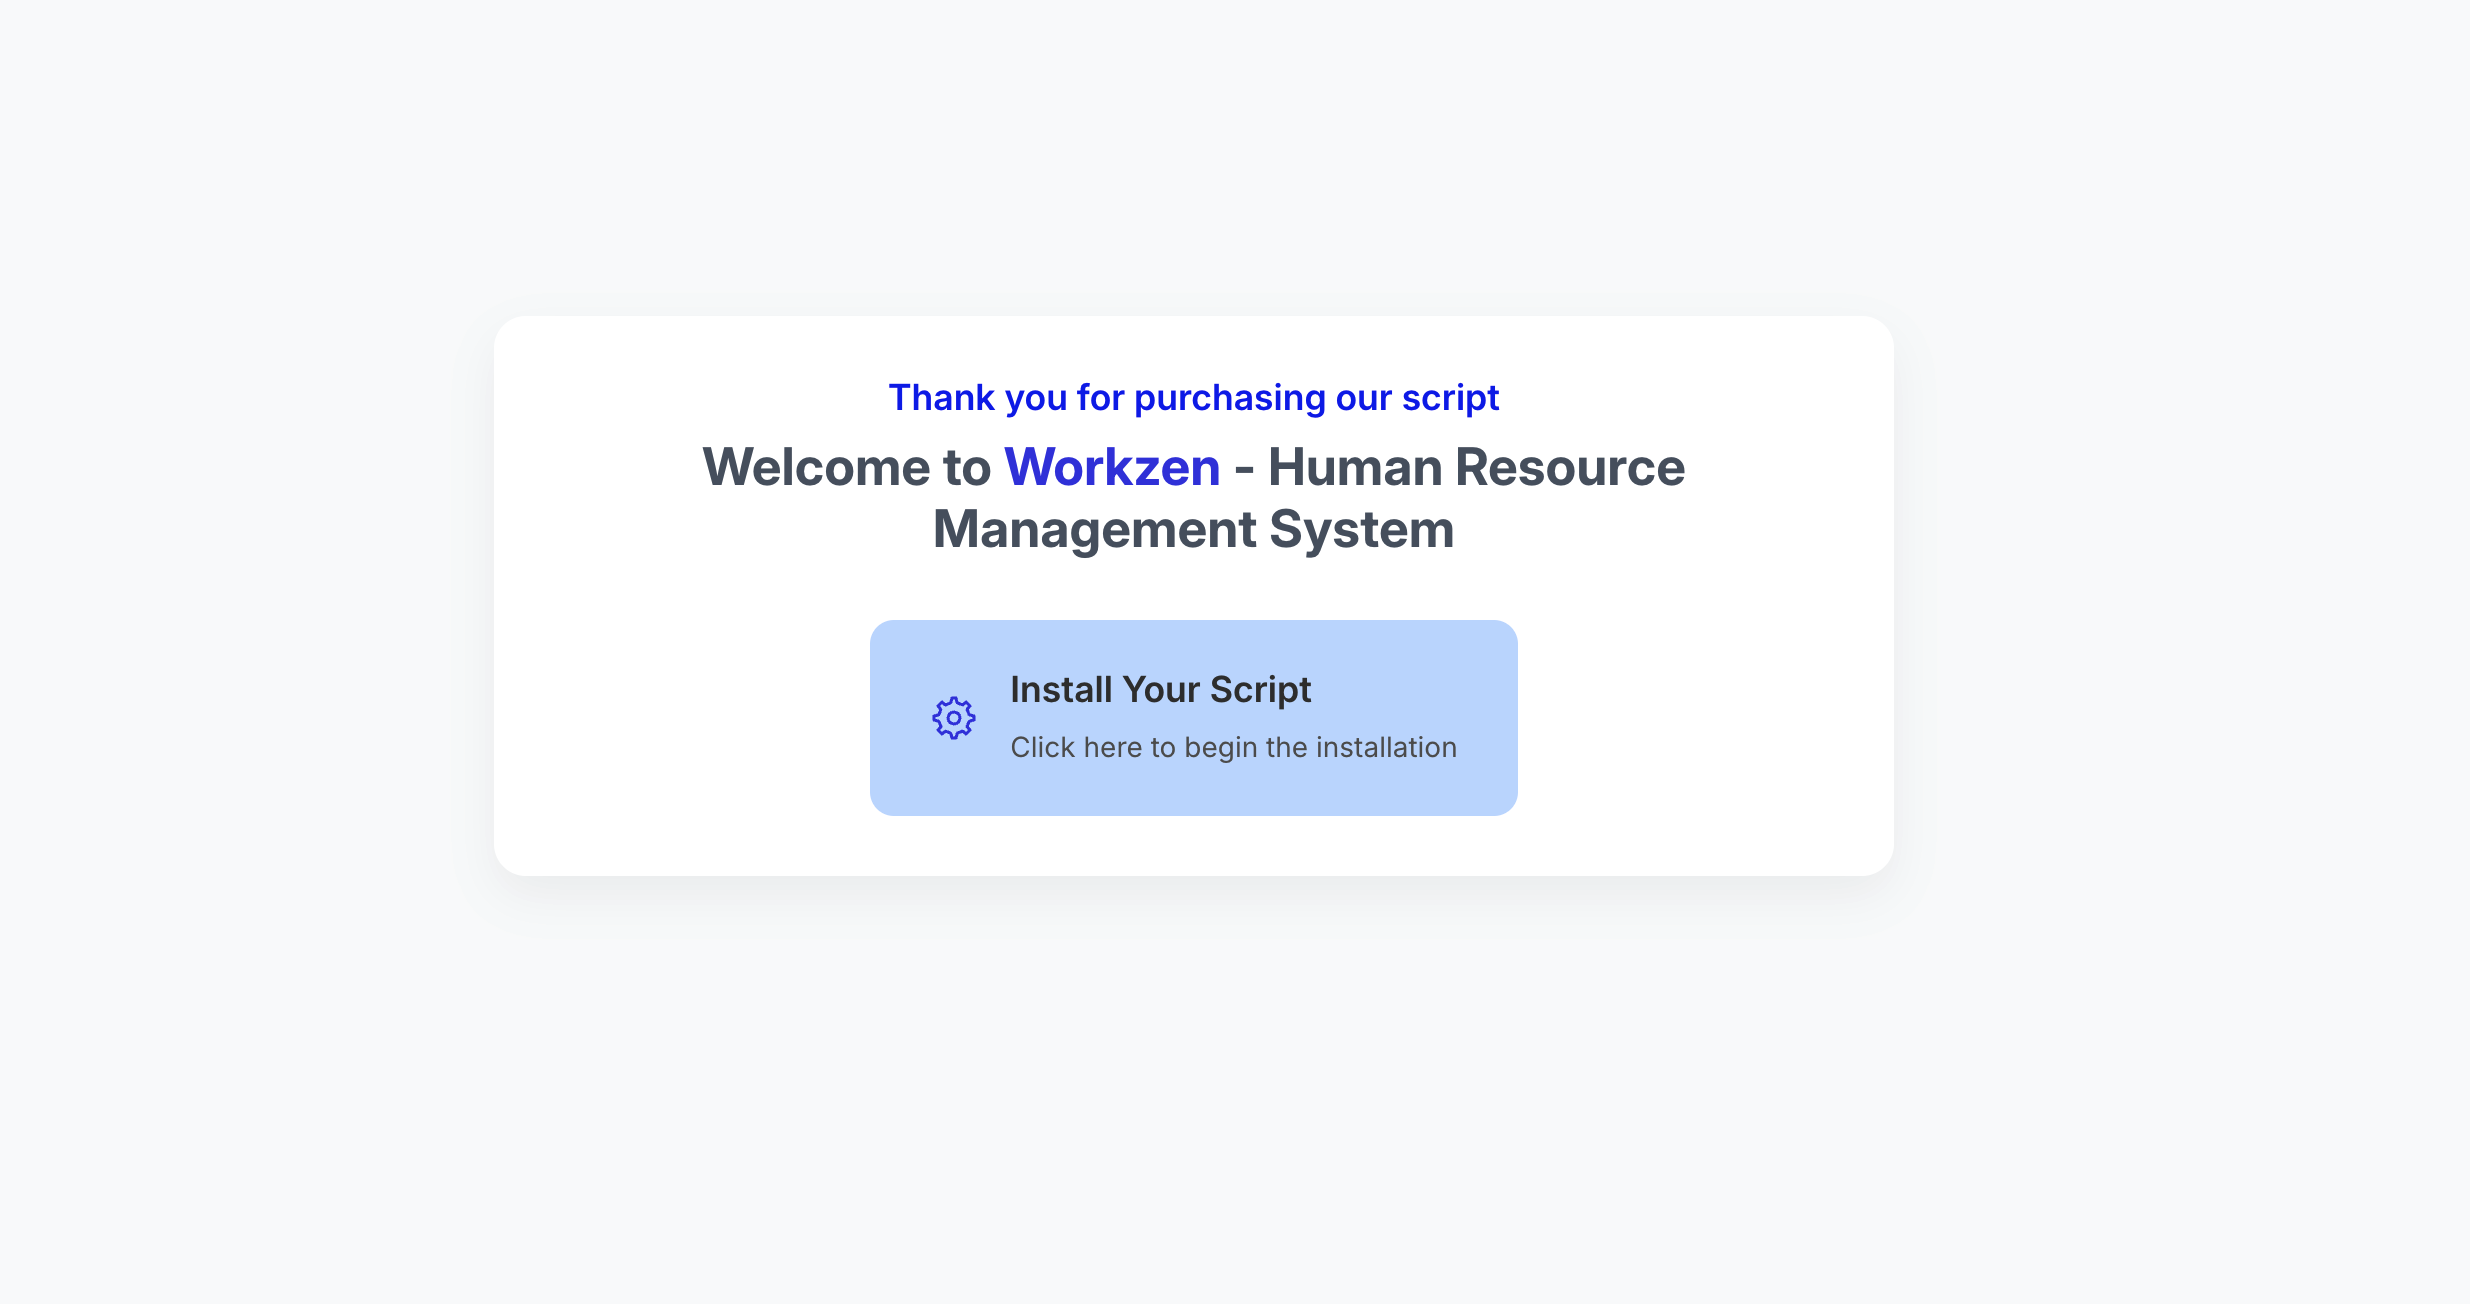
Welcome and start
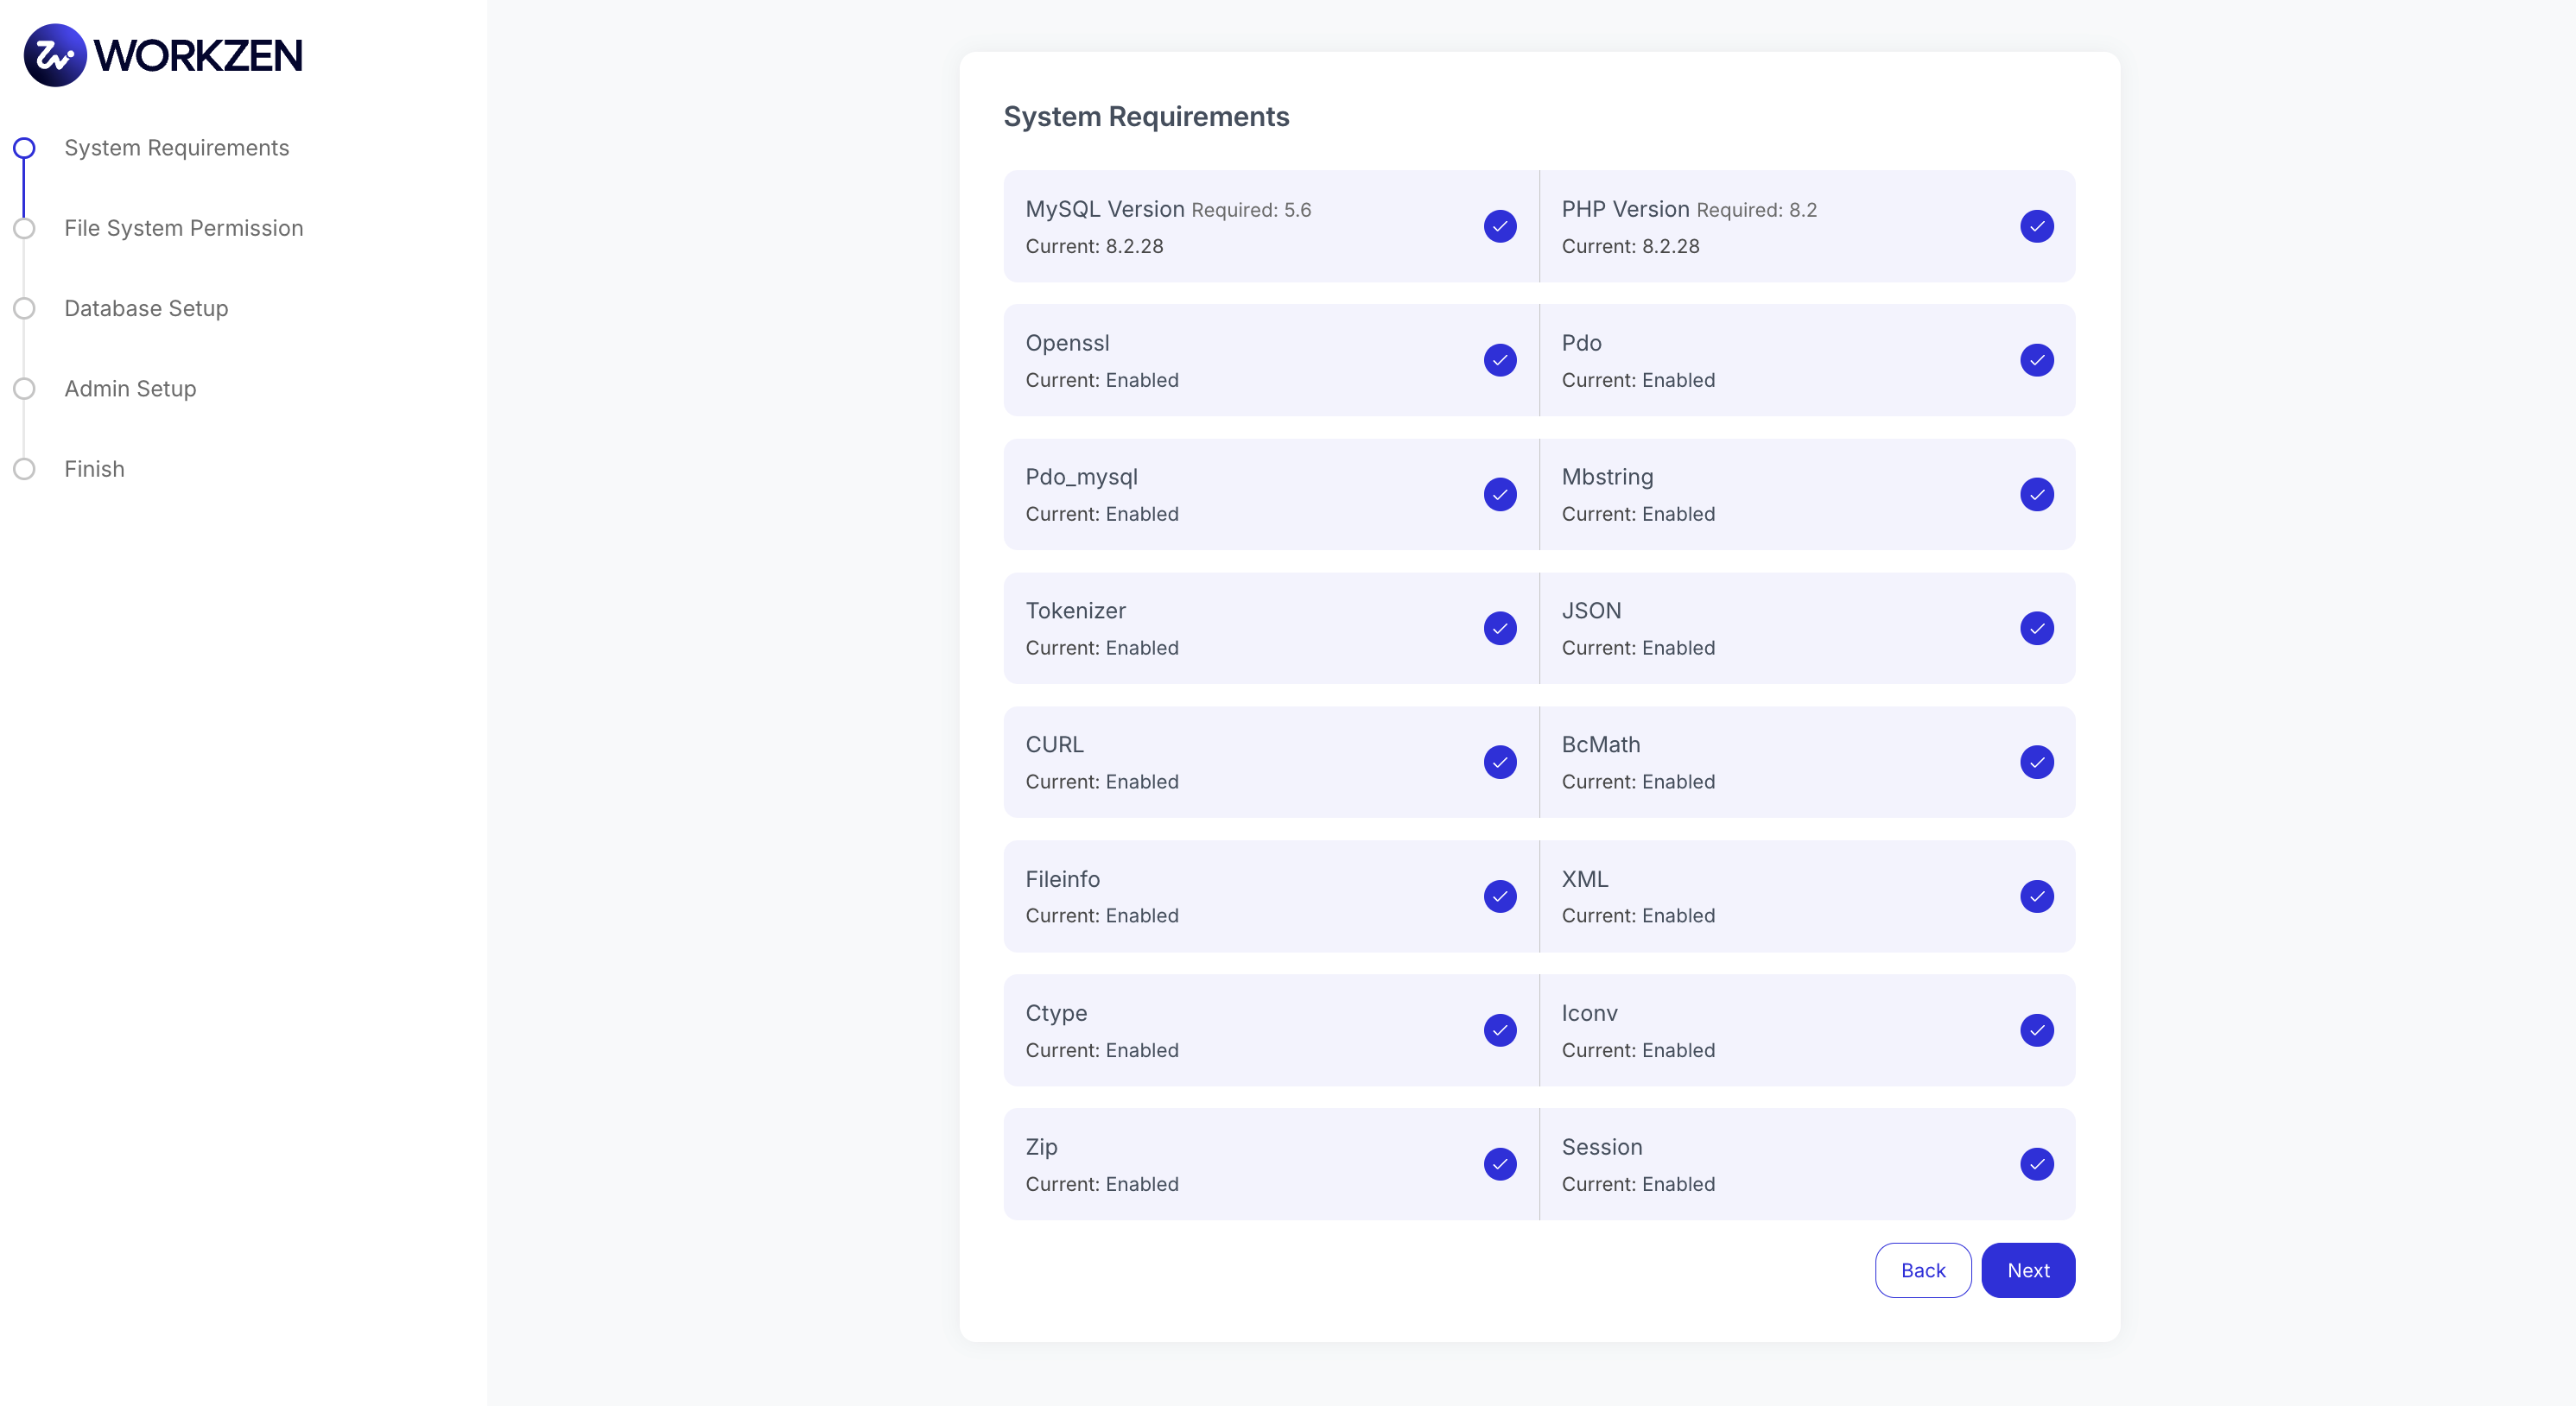
From the welcome screen, choose to begin installation. You are taken to System Requirements, where PHP, MySQL, and extensions are validated.
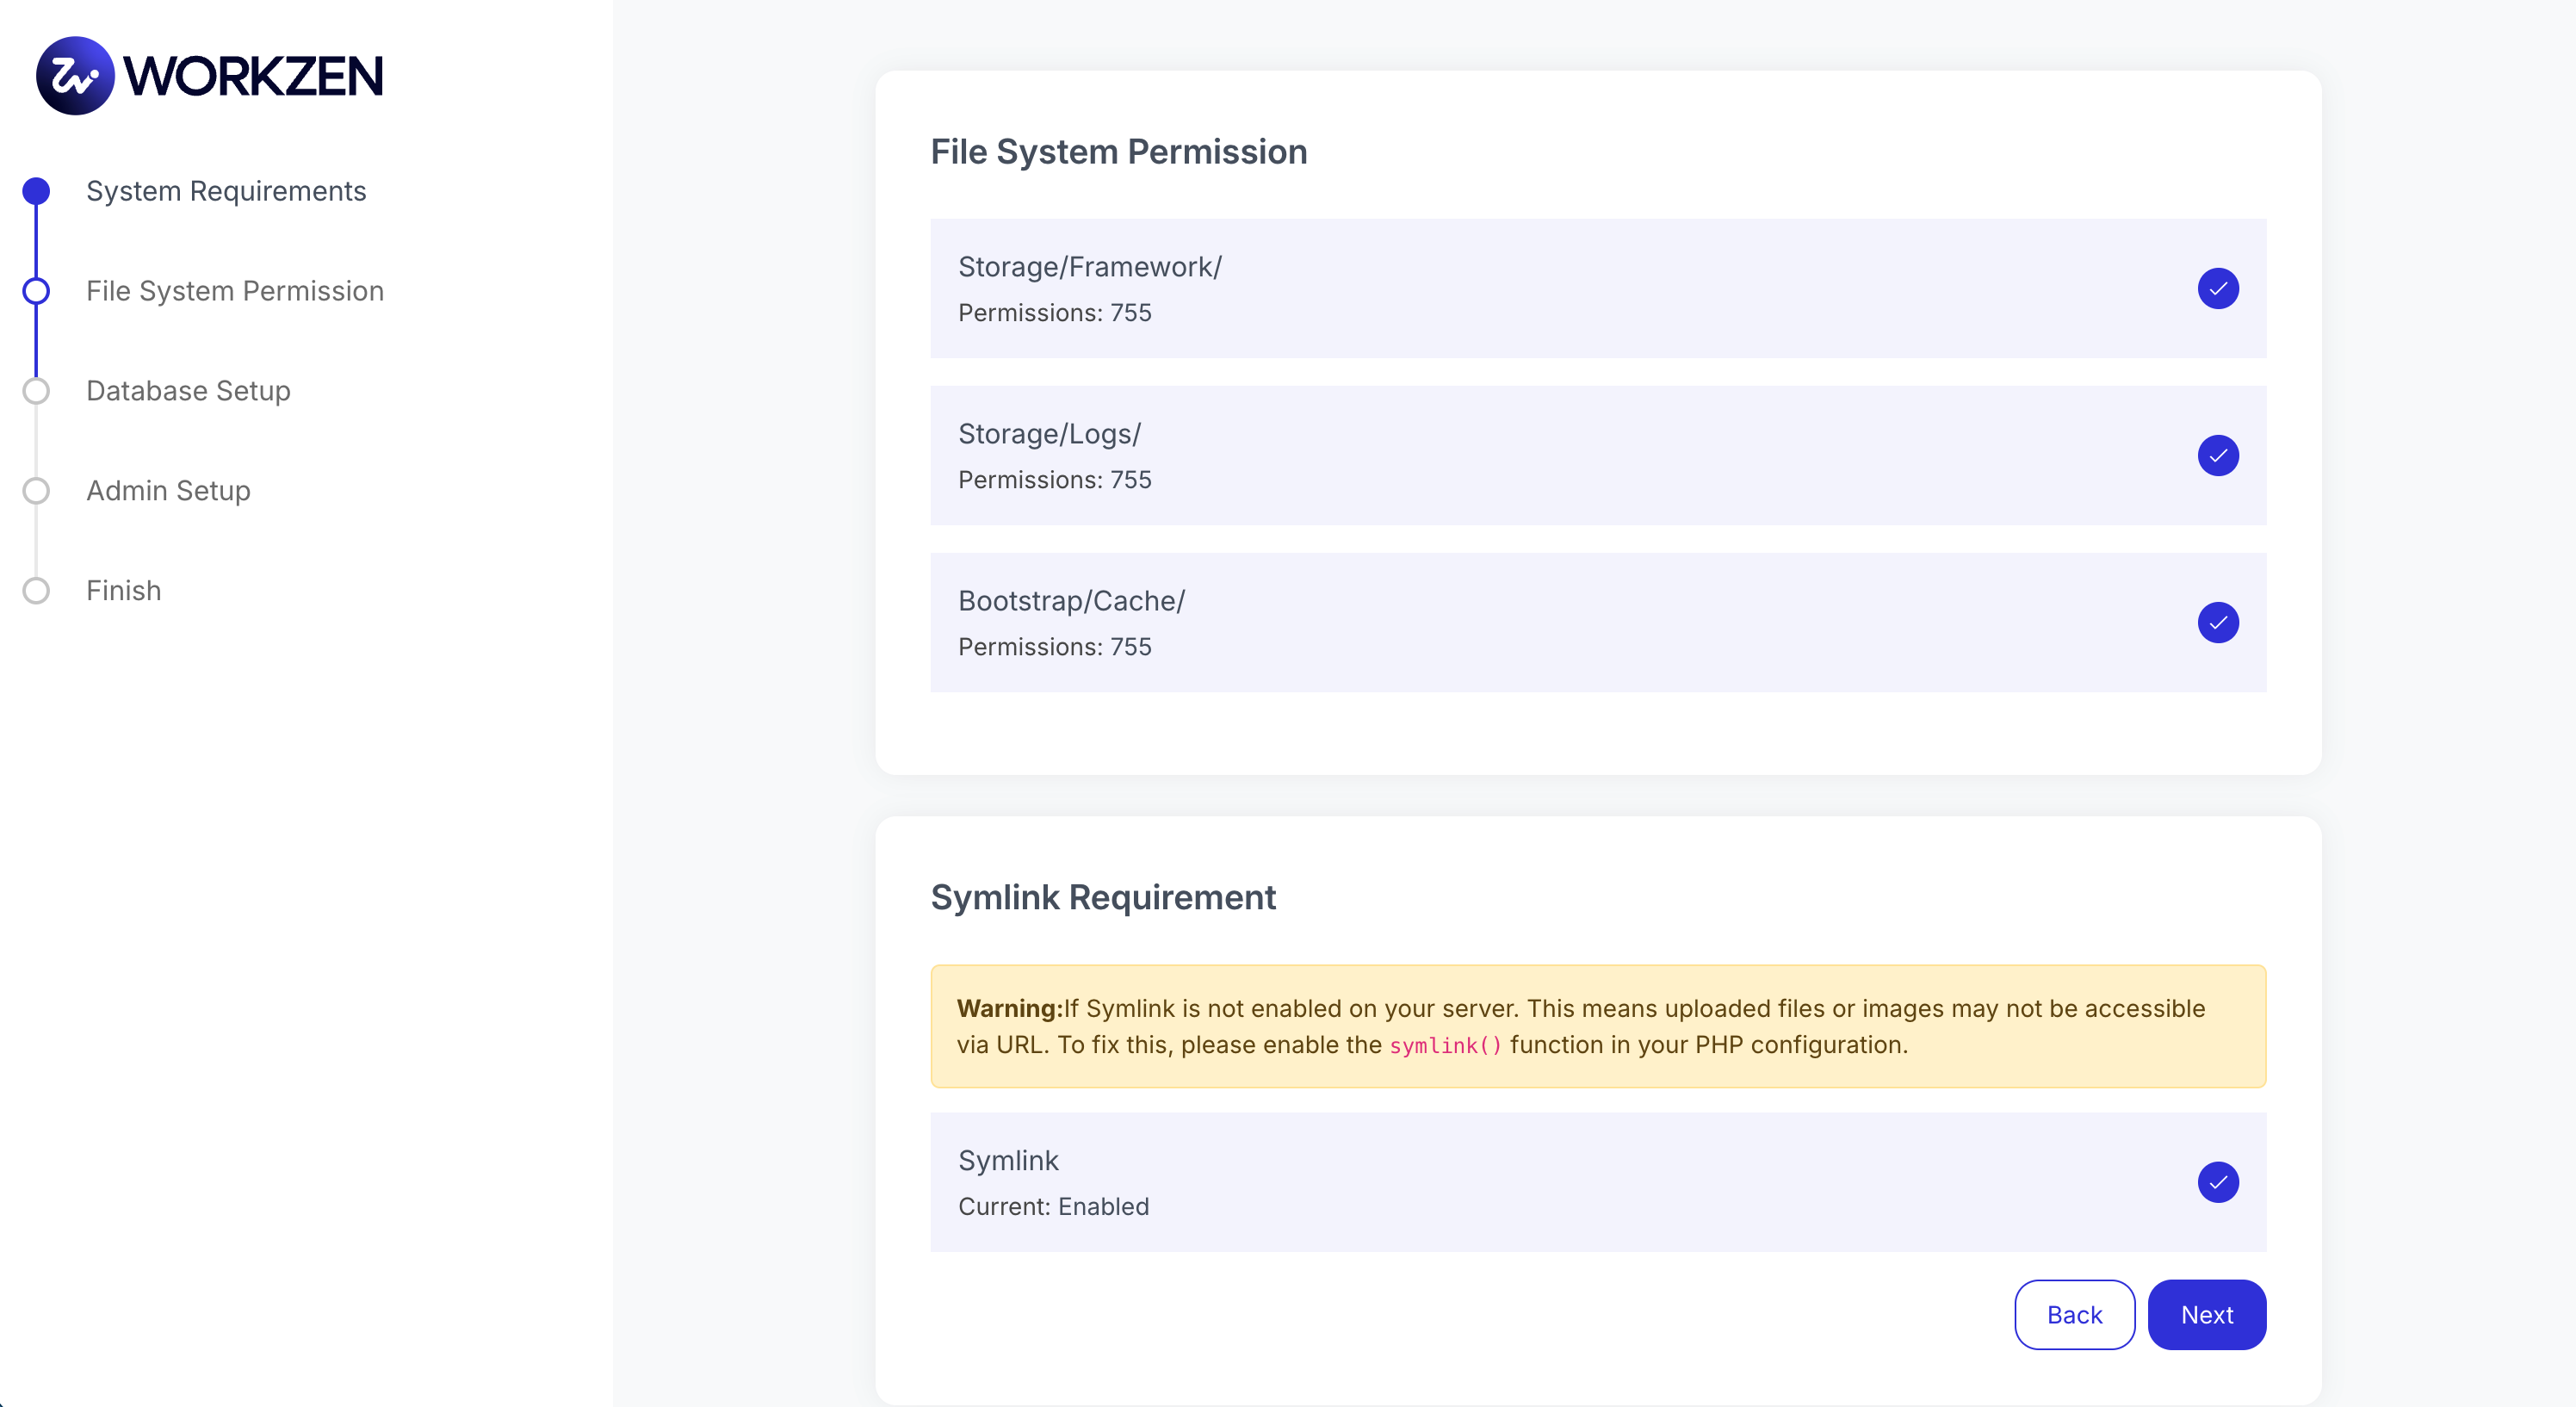
File system permissions
The File System Permission step lists folders that must be writable. Fix permissions on the server if any check fails, then continue.
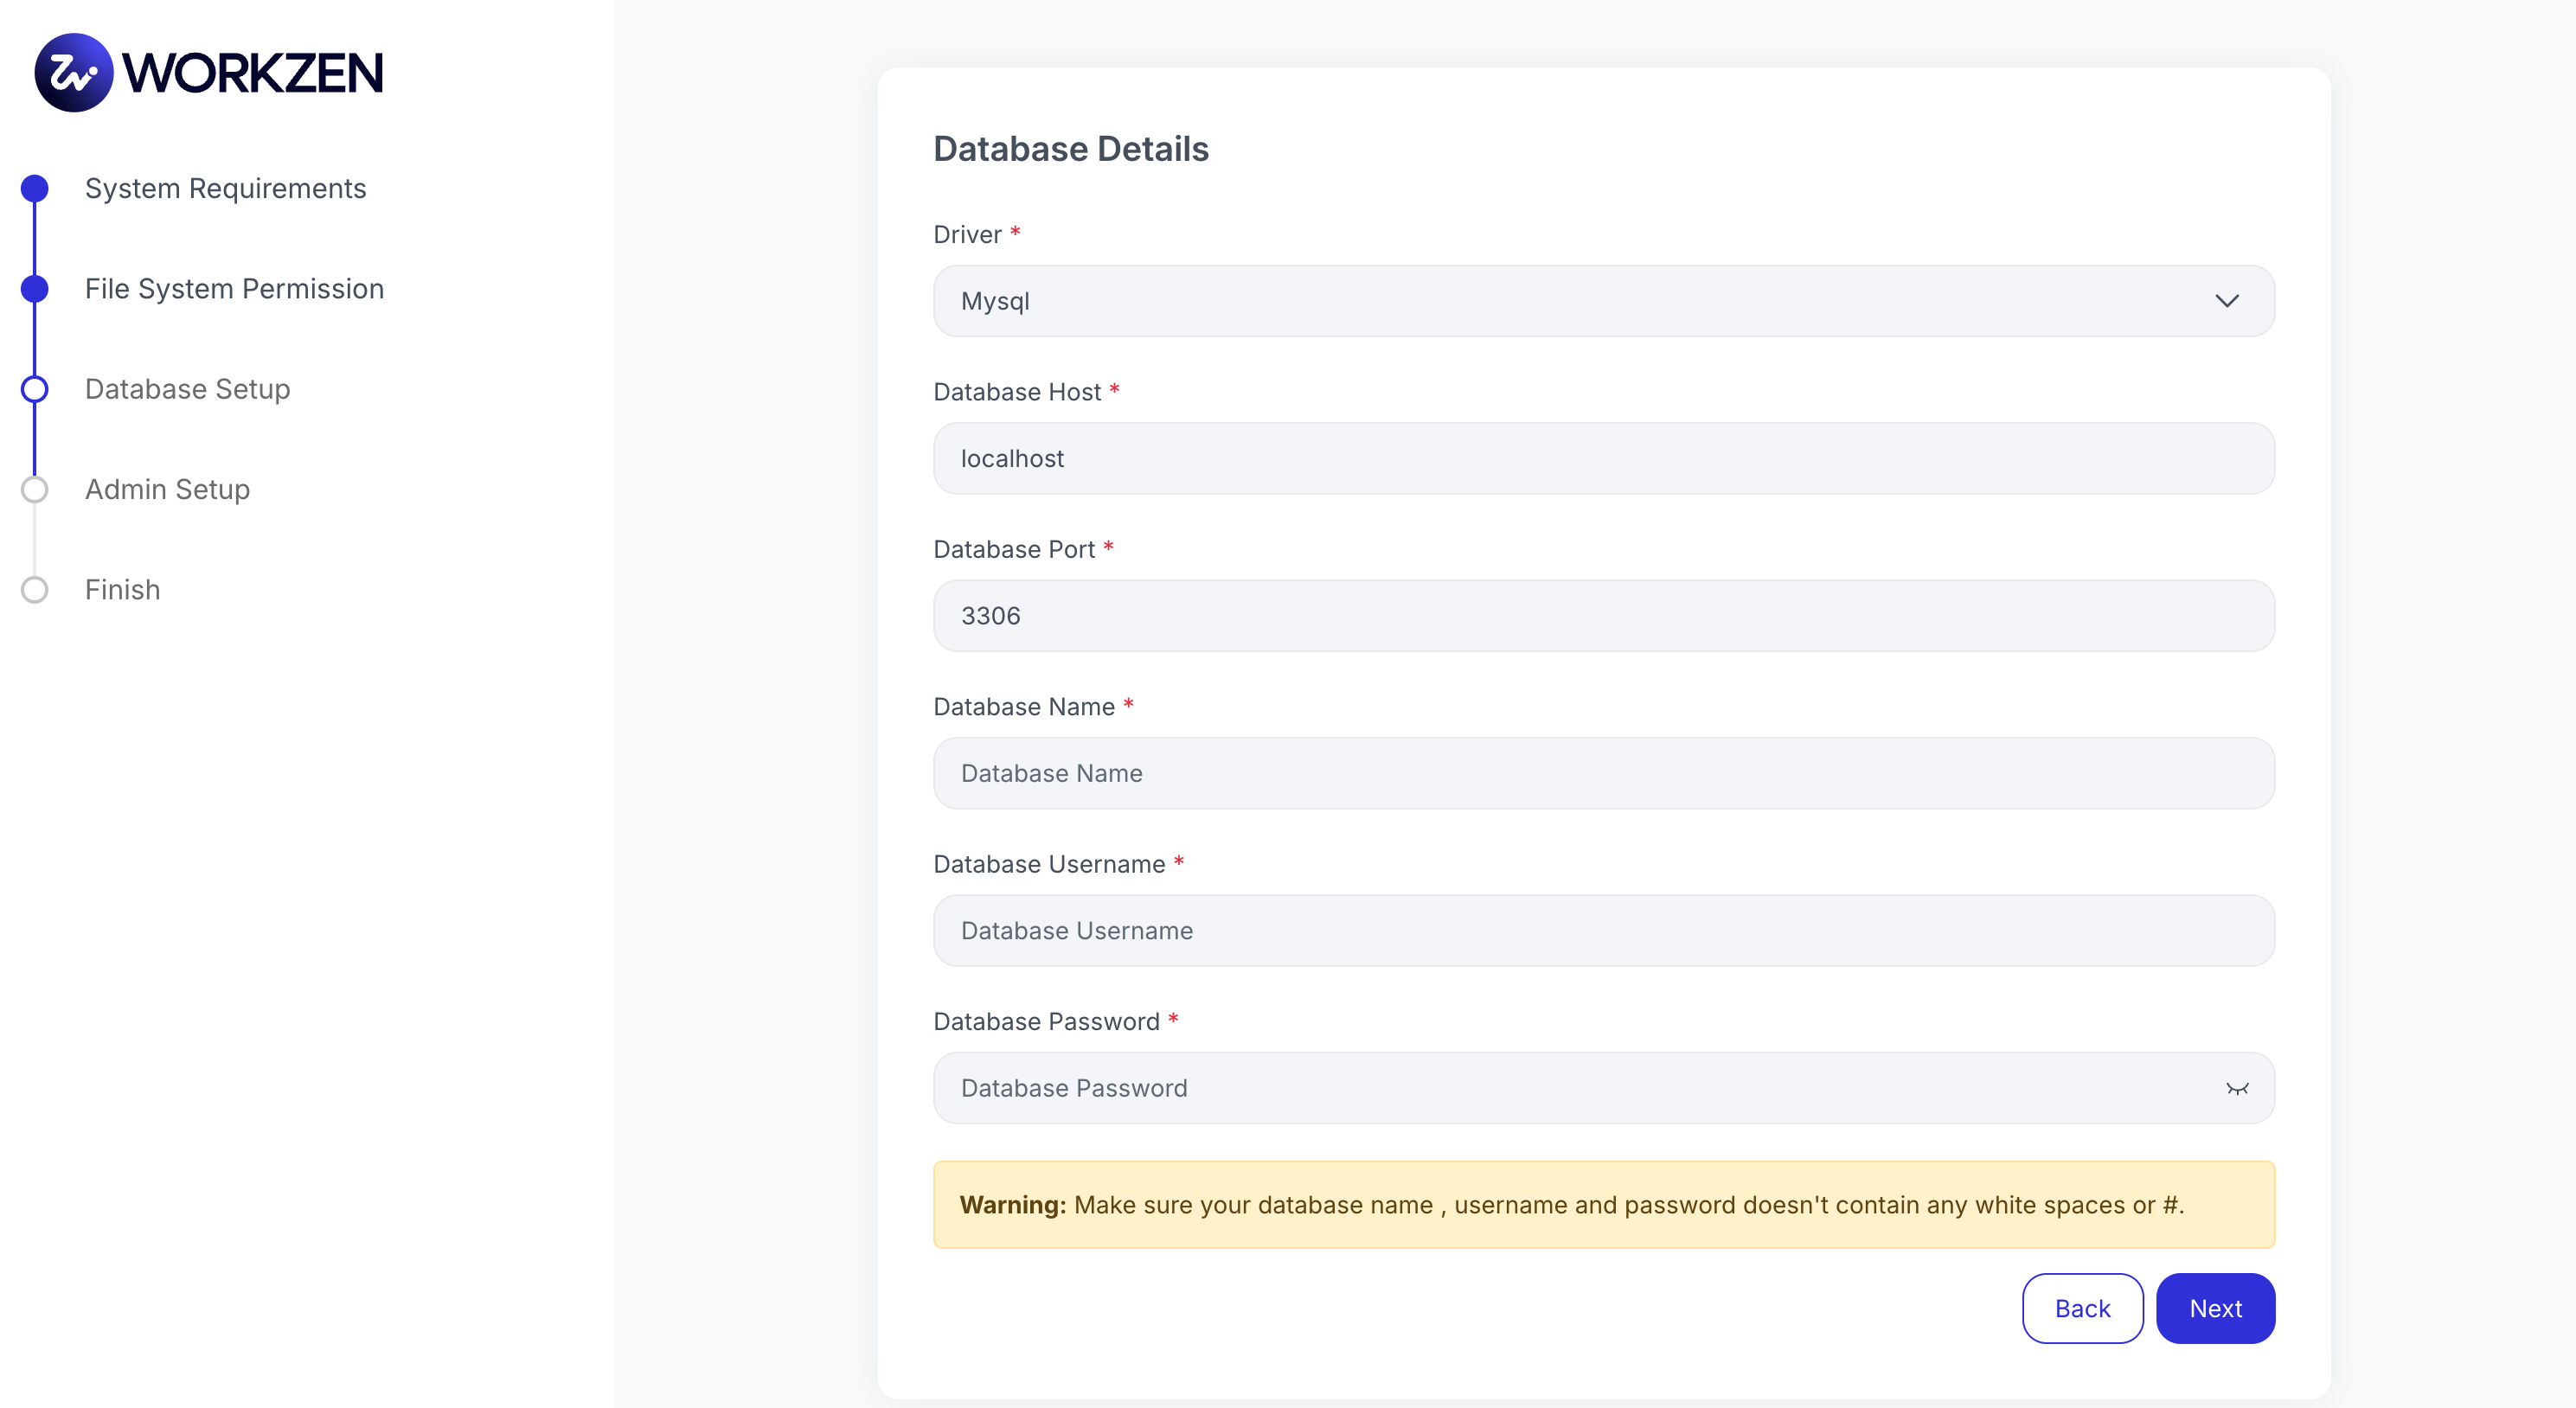
Database setup
Enter your database driver (typically MySQL), host, port, database name, username, and password from Step 1. Do not use spaces or # in the database name, username, or password.
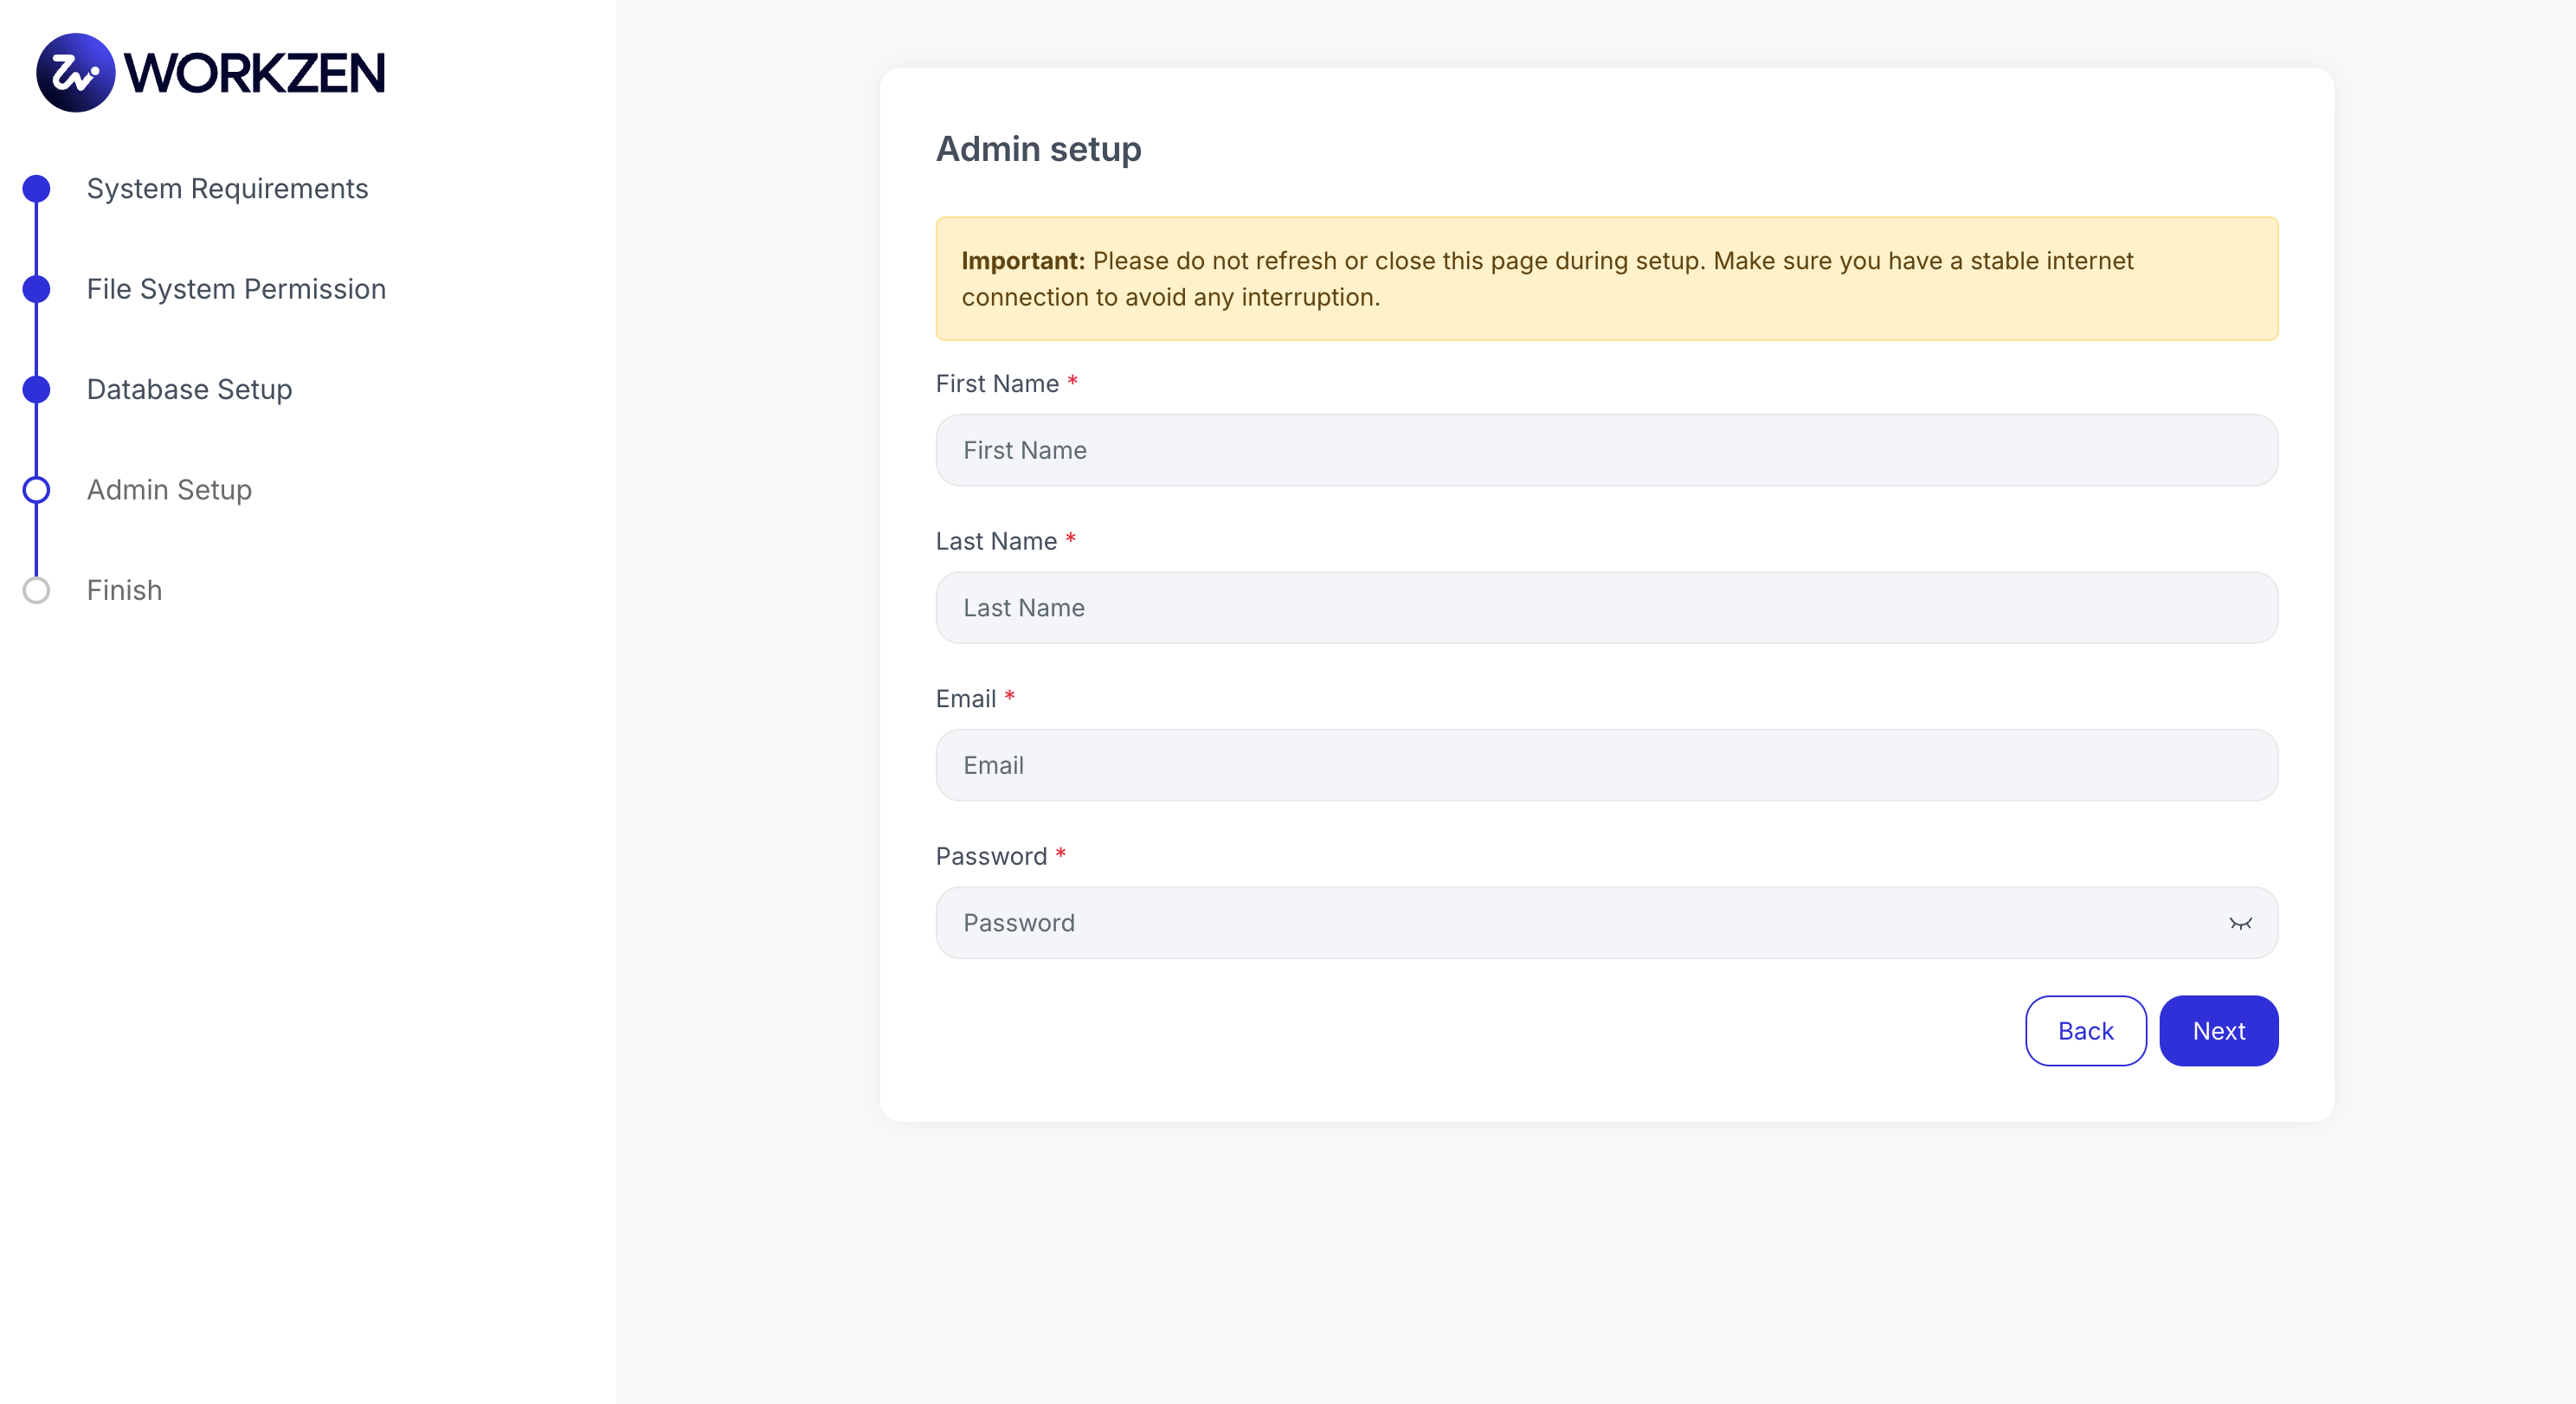
Administrator account
Create the first admin user (name, email, password). Do not refresh or close the page during this step; use a stable connection.
Finish
The final step completes database migrations and configuration. Wait until it finishes successfully before navigating away.
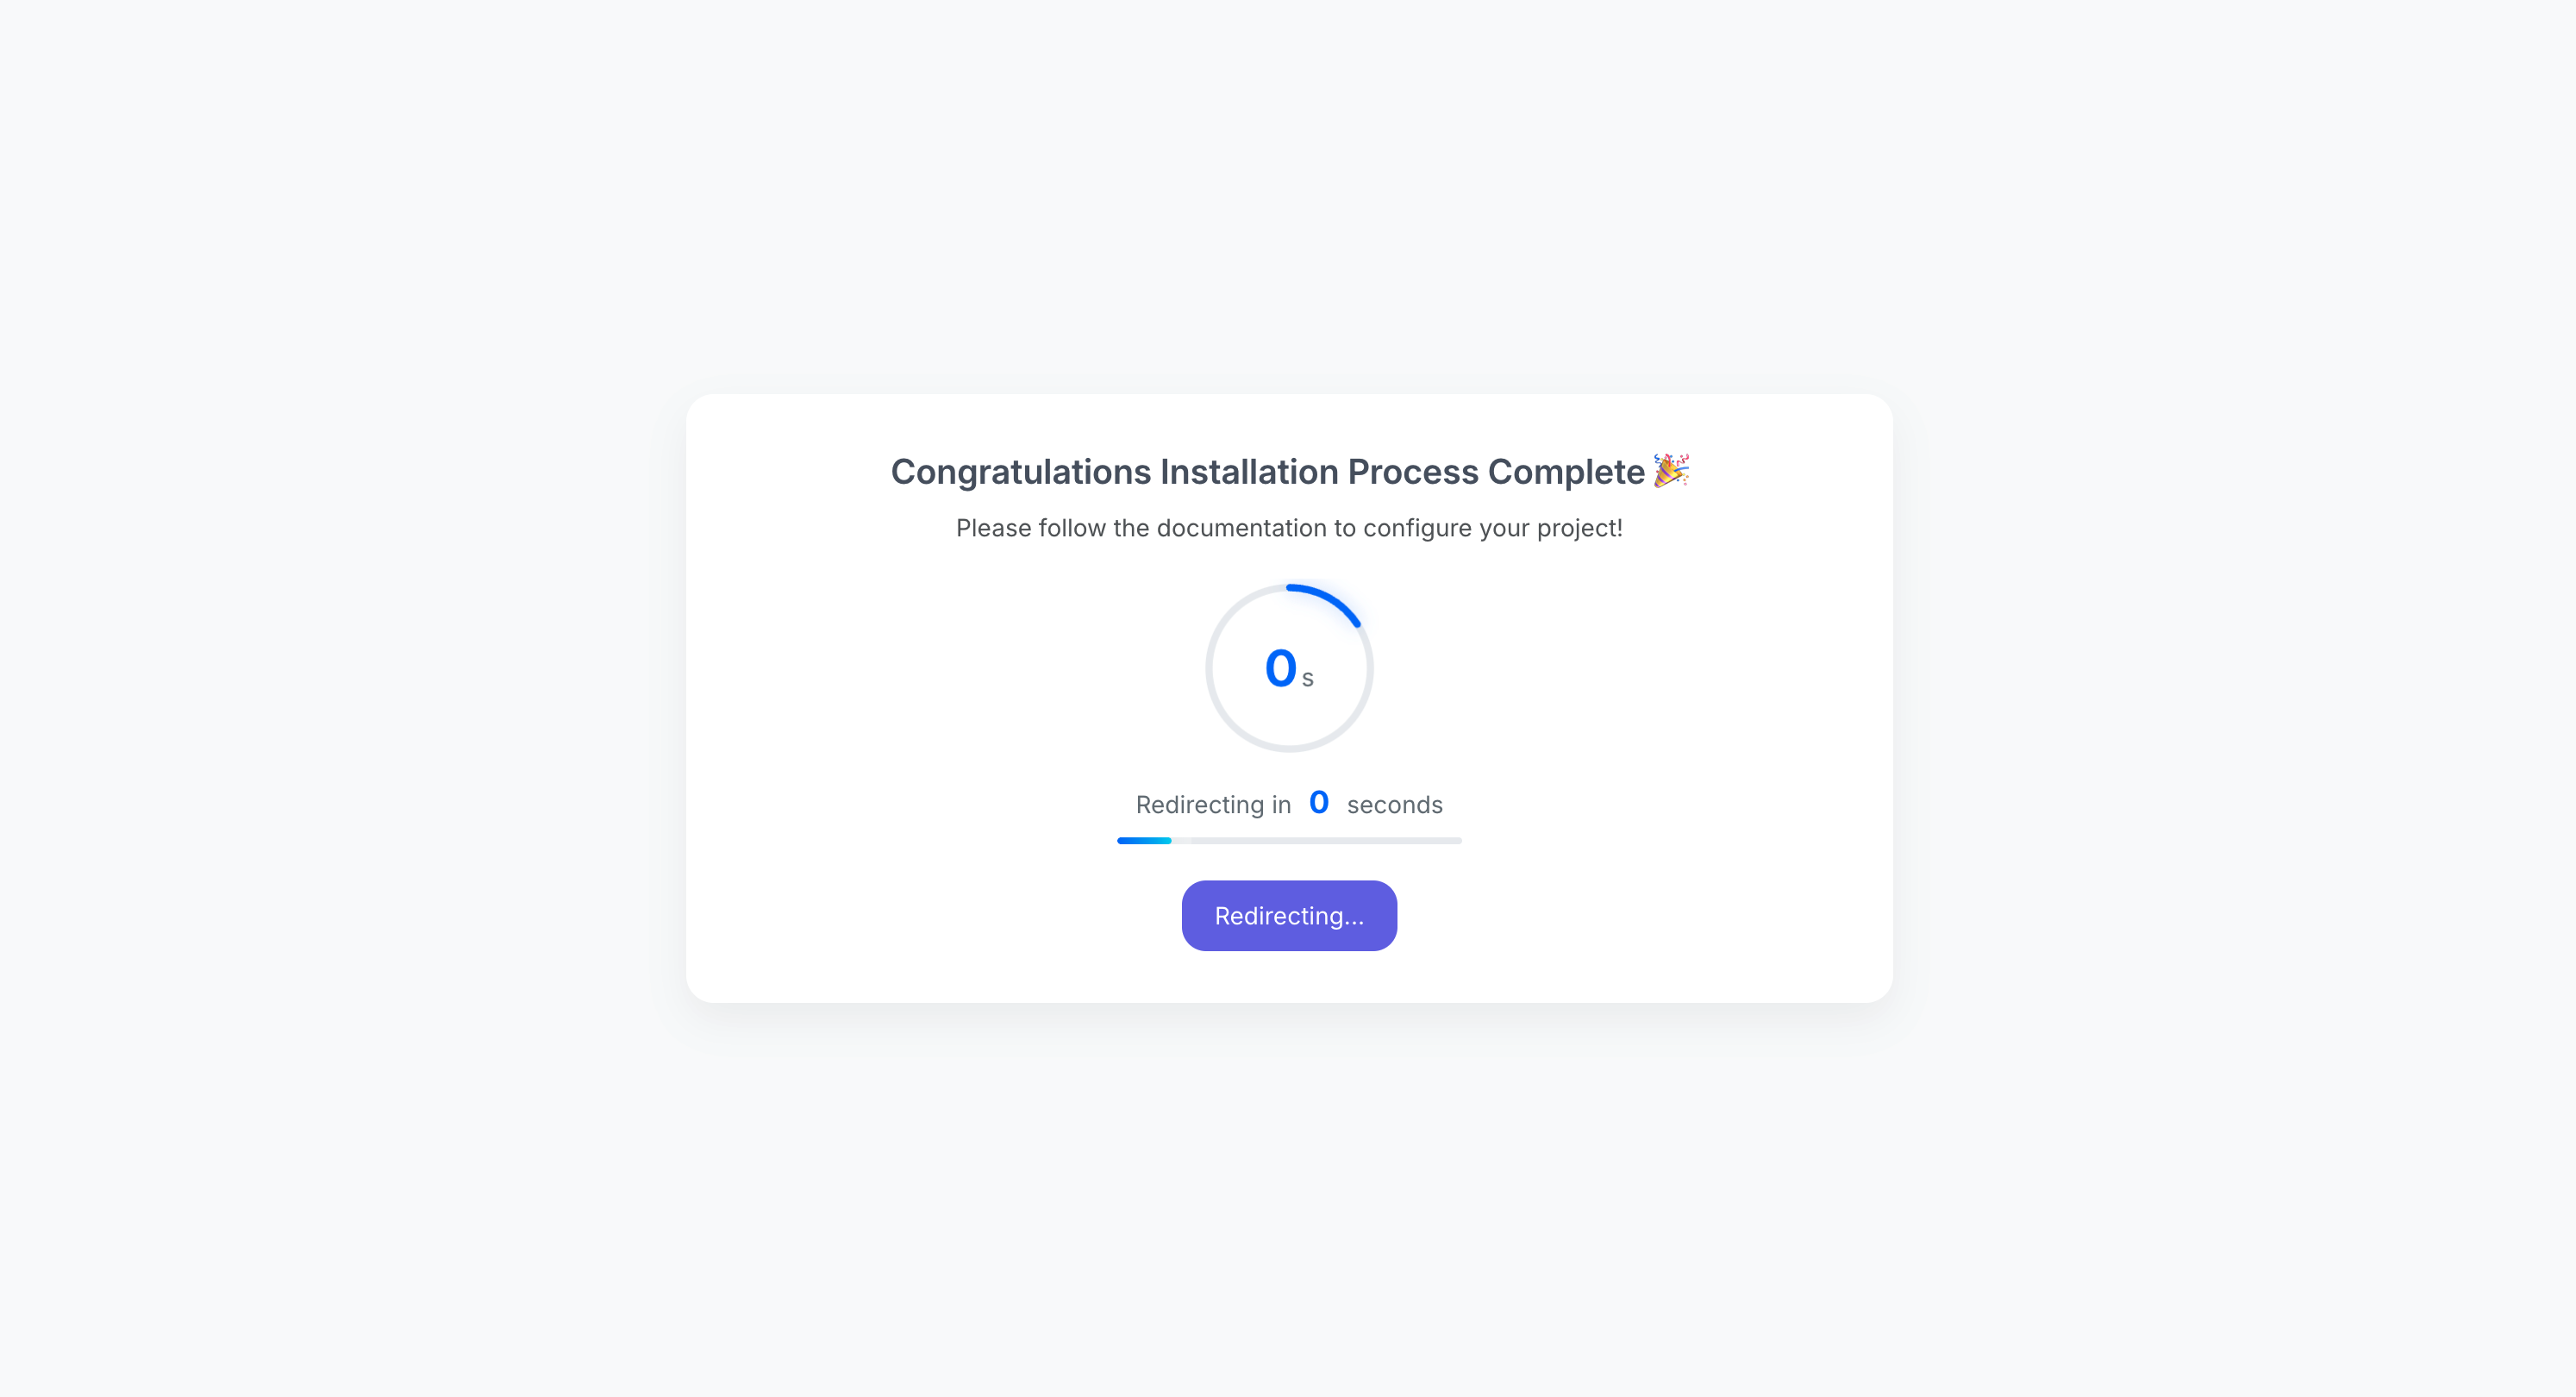
Installation complete
When the process completes, you will see a success screen. You can open the application or wait for the automatic redirect to your site.
Troubleshooting
Database connection errors
- Confirm the host is correct (
localhostvs a remote DB hostname from your host). - Verify the full database and username as cPanel displays them, including any prefix.
- Ensure the MySQL user is added to the database with full privileges.
Permission errors
Adjust ownership and write permissions on the paths reported in the File System step (commonly storage and bootstrap/cache in Laravel-style apps). Your host’s documentation explains recommended modes (e.g. 755 / 775).
Installer no longer available
After a successful install, the installer may redirect away from /installer for security. If you need to reinstall, follow your deployment or support notes for resetting the application state.